Small(er) Ubuntu Server 22.04 Install on Vultr
For my new Ubuntu Server deployment I decided to go with Intel High Frequency Vultr instance, mostly due to its larger disk allotment. However, going with default Vultr’s deployment image, I ended up with 18 GB of disk occupied. And yes, I could have removed extra stuff I didn’t need (e.g. /usr/local/cuda/ was the prime candidate). However, I decided to go a different route - manual installation.
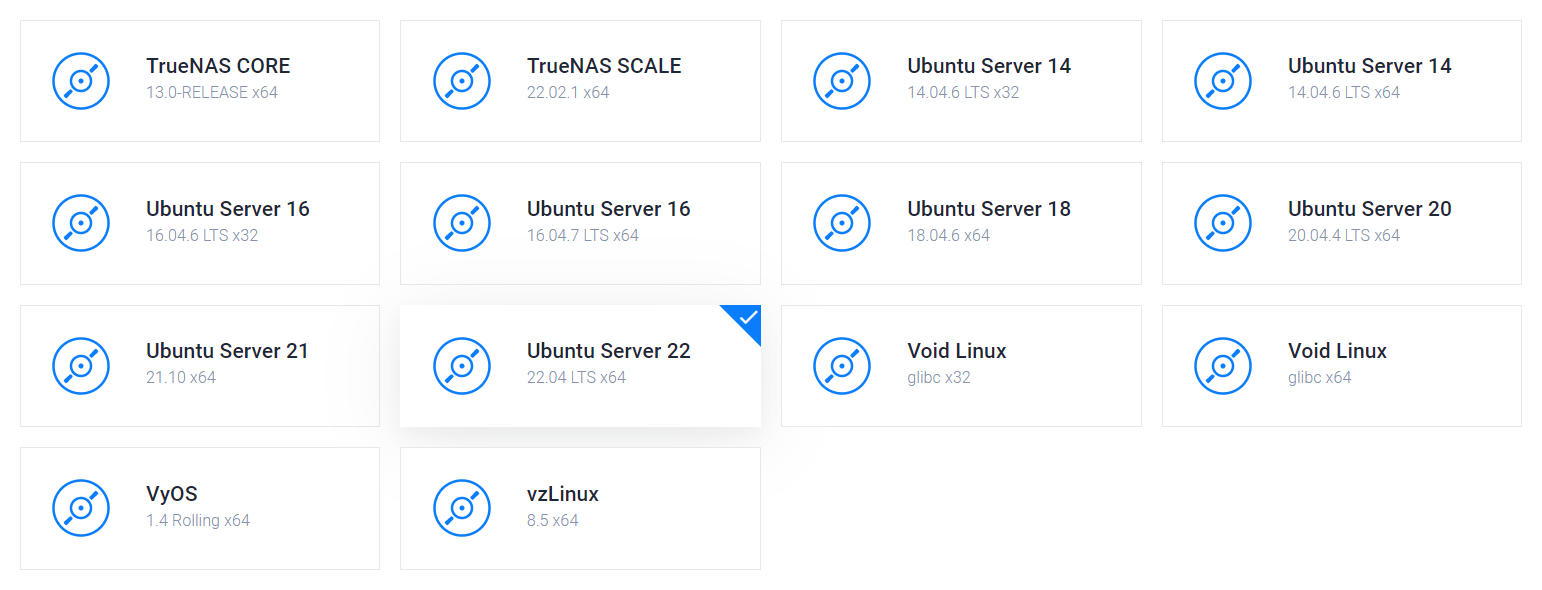
Getting the Ubuntu ISO is easy enough as a wide selection is already available behind ISO Library tab on Server Image selection page. Combine that with noVNC console and you can just click your way through. However, one can also find Shell option within the Help menu giving you access to the bash prompt and allowing for more control.
While noVNC is decent, the lack of copy/paste makes it unwieldy when more then a few commands need to be entered. So, my first task was to SSH into the installation and continue from there. To do this, we have to allow for password login and set the password.
sed -i 's/^#PermitRootLogin.*$/PermitRootLogin yes/' /etc/ssh/sshd_config
systemctl restart sshd
passwd
Now we can connect using any SSH client and do the rest of steps from there.
I like to start by setting a few variables. Here I needed only DISK and HOST.
DISK=/dev/vda
HOST=^^ubuntu^^
Assuming this is a fresh VM, the disk should already be empty but I like to clean it again (just in case) and create a single partition. On servers I quite often skip swap partition and that’s the case here too.
blkdiscard -f $DISK
echo -e "o\nn\np\n1\n\n\nw" | fdisk $DISK
fdisk -l $DISK
Now we can format our partition and mount it into /mnt/install/.
# mkfs.ext4 ${DISK}1
# mkdir /mnt/install
# mount ${DISK}1 /mnt/install/
We will need to install debootstrap to get our installation going.
# apt update ; apt install --yes debootstrapAnd now we can finally move installation files to our disk.
debootstrap $(basename `ls -d /cdrom/dists/*/ | grep -v stable | head -1`) /mnt/install/Before proceeding, we might as well update a few settings.
echo $HOST > /mnt/install/etc/hostname
sed "s/ubuntu/$HOST/" /etc/hosts > /mnt/install/etc/hosts
sed '/cdrom/d' /etc/apt/sources.list > /mnt/install/etc/apt/sources.list
cp /etc/netplan/*.yaml /mnt/install/etc/netplan/
Finally we get to chroot into our newly installed system.
mount --rbind /dev  /mnt/install/dev
mount --rbind /proc /mnt/install/proc
mount --rbind /sys  /mnt/install/sys
chroot /mnt/install \
    /usr/bin/env DISK=$DISK HOST=$HOST \
    bash --login
While optional, I like to update locale settings and set the time zone.
locale-gen --purge "en_US.UTF-8"
update-locale LANG=en_US.UTF-8 LANGUAGE=en_US
dpkg-reconfigure --frontend noninteractive locales
dpkg-reconfigure tzdata
Installing kernel is next.
apt update
apt install --yes --no-install-recommends linux-image-generic linux-headers-generic
Followed by our boot environment packages.
apt install --yes initramfs-tools grub-pcSetting FSTab will ensure disk is mounted once done.
echo "PARTUUID=$(blkid -s PARTUUID -o value ${DISK}1) \
    / ext4 noatime,nofail,x-systemd.device-timeout=5s 0 1" > /etc/fstab
cat /etc/fstab
Of course, boot wouldn’t be possible without getting images ready.
KERNEL=`ls /usr/lib/modules/ | cut -d/ -f1 | sed 's/linux-image-//'`
update-initramfs -u -k $KERNEL
And finally, boot needs Grub installed to MBR.
update-grub
grub-install ${DISK}
While we could boot our system already, it’s a bit too bare for my taste so I’ll add a basic set of packages.
apt install --yes ubuntu-server-minimal manOnce done, a small update will not hurt.
apt update ; apt dist-upgrade --yesOf course, we need to ensure we can boot into our system. While one could use passwd to set the root password, I like to use keys for access.
mkdir /root/.ssh
echo '^^ssh-ed25519 AAAA...^^' > /root/.ssh/authorized_keys
chmod 600 -R /root/.ssh
With all set, we can exit our chroot environment.
exitWe might as well unmount our custom install.
mount | tac | awk '/\/mnt/ {print $3}' | xargs -i{} umount -lf {}And finally we get to reboot. Please note that you should also go to VM Settings and unmount custom ISO to avoid getting into installation again.
rebootIf all steps worked, you will face a pristine Ubuntu installation measuring something around 5 GB. To make it even smaller, one can turn off the swap.
swapoff -a
vi /etc/fstab
rm /swapfile
Regardless, your system is now ready for abuse. :)