In my home automation I stumbled at an insteresting problem. All my switches are of YoLink’s smarty pants variety. One salient to this topic was their dimmer switch. I really wanted one of them to control the other and, while you can pair on/off state in YoLink, you cannot sync dim state. Home Assistant to the rescue!
My first go was simple enough
triggers:
  - trigger: state
    entity_id:
      - light.living_room_ceiling_light_switch

conditions: []

actions:
  - choose:
      - conditions:
          - condition: state
            entity_id: light.living_room_ceiling_light_switch
            state:
              - 'off'
        sequence:
          - action: light.turn_off
            target:
              entity_id: light.living_room_ceiling_light2_switch
            data: {}
      - conditions:
          - condition: state
            entity_id: light.living_room_ceiling_light_switch
            state:
              - 'on'
        sequence:
          - action: light.turn_on
            target:
              entity_id: light.living_room_ceiling_light2_switch
            data:
              brightness: >
                {{ state_attr('light.living_room_ceiling_light_switch',
                'brightness') | int }}
This will capture any change from my “controller” light and then propagate them to the “controllee”. If state is off, it will turn it off - simple enough. If state is on, it will turn it on and send the current dimmer state.
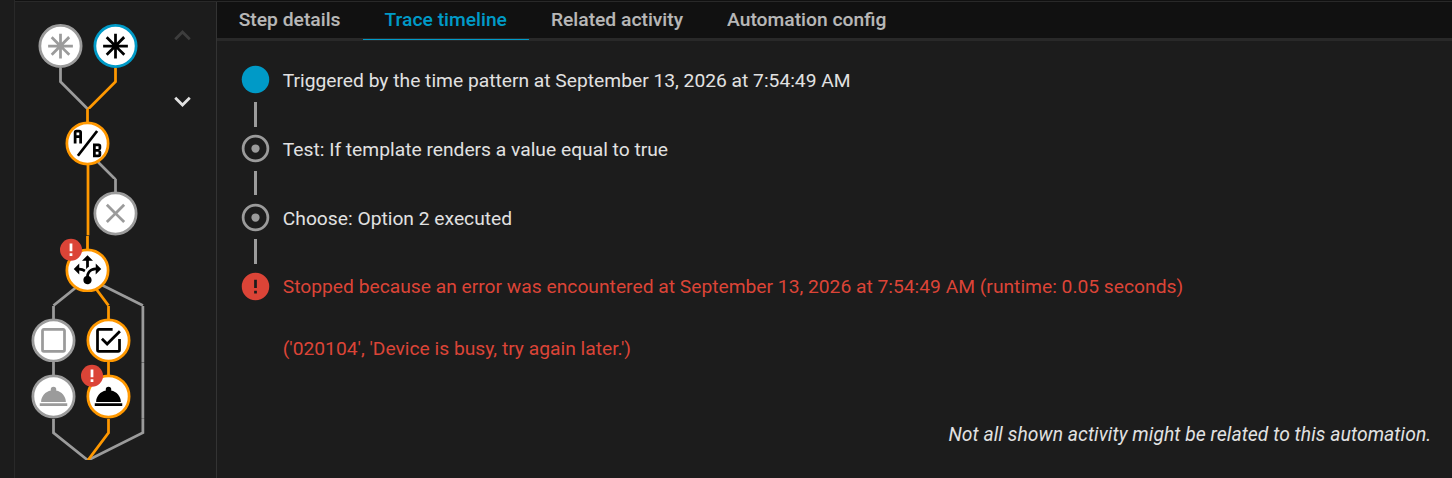
In theory, this should be enough. In practice, it worked ok if I adjusted dimmer values slowly. But, if I went fast, it would go into “Device is busy” state and never update. I did try “queued” and “restart” modes but neither really helped.
So, I turned to timers for help. Instead of reacting only to the changes, automation will also trigger every 5 seconds to check if states match. If states are the same, trigger is abandoned. If states are not the same, we proceed with the same change.
triggers:
  - trigger: state
    entity_id:
      - light.living_room_ceiling_light_switch
  - trigger: time_pattern
    seconds: /5

conditions:
  - condition: template
    value_template: |
      {{ states('light.living_room_ceiling_light2_switch') !=
        states('light.living_room_ceiling_light_switch')
        or
        (
          states('light.living_room_ceiling_light_switch') == 'on'
          and
          state_attr('light.living_room_ceiling_light2_switch', 'brightness') !=
          state_attr('light.living_room_ceiling_light_switch', 'brightness')
        ) }}

actions:
  - choose:
      - conditions:
          - condition: state
            entity_id: light.living_room_ceiling_light_switch
            state:
              - 'off'
        sequence:
          - action: light.turn_off
            target:
              entity_id: light.living_room_ceiling_light2_switch
            data: {}
      - conditions:
          - condition: state
            entity_id: light.living_room_ceiling_light_switch
            state:
              - 'on'
        sequence:
          - action: light.turn_on
            target:
              entity_id: light.living_room_ceiling_light2_switch
            data:
              brightness: >
                {{ state_attr('light.living_room_ceiling_light_switch',
                'brightness') | int }}

mode: restart
Now, this does two things. First, for slow updates, it will run only once and we’re golden. But, if there is an issue with the first run, it will run every 5 seconds until it manages to synchronize their states. Why 5 seconds? Well, sending updates more often actually prolongs “too busy” state to 20-30 seconds.
Also, I switched mode to restart. While default single did work ok, it also went through many intermediate brightness steps too making overall response slower.
Are there any places for improvement? Surely there are. One that immediately comes to mind is using proper 5 second timer instead of triggering every 5 seconds. I opted to skip this in order to have only a single automation. The performance difference was not worth the clutter.
Also, addint a small delay before choose conditions does help since “restart” mode gets to cancel it most of the time. Albeit that comes at a cost of slower single-trigger updates. Since most of my actions are just turning on or off the light, it seemed as unnecessary slowdown for a rare benefit.
Regardless, my second light now takes all its cues from my main light and that’s all I needed for now.