I already wrote about setting pool NTP server using good old ntpd daemon. However, CentOS comes with another daemon installed by default - Chrony. Let me guide you through the setup of Chrony NTP server on CentOS 7.3 for the purpose of joining the pool.
While NTP server needs a good (single-core) CPU and fast network, it cares nothing about the RAM. That makes it ideal for even the smallest cloud instances. Both $5 Linode (1024 MB RAM) and $2.50 Vultr (512 MB RAM) will work wonderfully. Just don’t set your pool speed over 100 Mbps to avoid any extra bandwidth charges.
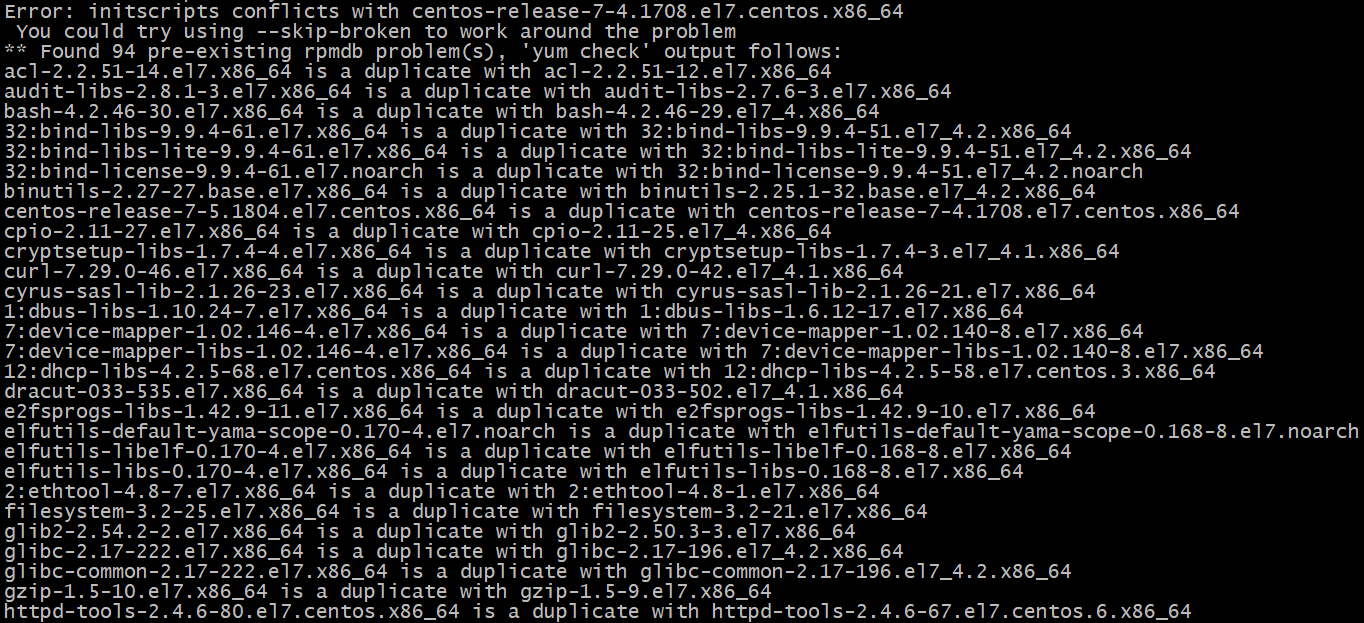
Immediately after CentOS has been installed, it’s best to update system to the latest and greatest:
yum -y upgrade
As Chrony is installed by default on CentOS, there are no new packages to install. However, the firewall still must allow for external requests:
firewall-cmd --permanent --add-service ntp
firewall-cmd --reload
Just installing NTP is no good if we don’t have any servers to synchronize with. To setup those, editing /etc/chrony.conf is needed. Depending which data center you select for the server, you will want to have 4 to 7 servers from the stratum one list physically close to your location while obeying any restrictions noted (especially if server is open access or not). For the virtual machine located in Miami, the following servers would work (do not forget to remove servers already in file):
server ntp-s1.cise.ufl.edu iburst
server time-a.bbnx.net iburst
server time-b.bbnx.net iburst
server time-a.timefreq.bldrdoc.gov iburst
server time-c.timefreq.bldrdoc.gov iburst
…
Of course, a server won’t be the server until we add the following line to /etc/chrony.conf so that external connections are accepted while control is limited to local machine only:
…
allow all
bindcmdaddress 127.0.0.1
bindcmdaddress ::1
Now finally, with all configured, we can restart our server:
systemctl restart chronyd
To verify the server is working, the first step is to see all sources the server synchronizes with. As soon as one of them has asterisk next to its name, all is good.
chronyc sources
A bit more realistic check will be actually requesting the time from remote computer:
ntpdate -q ^^<ip>^^
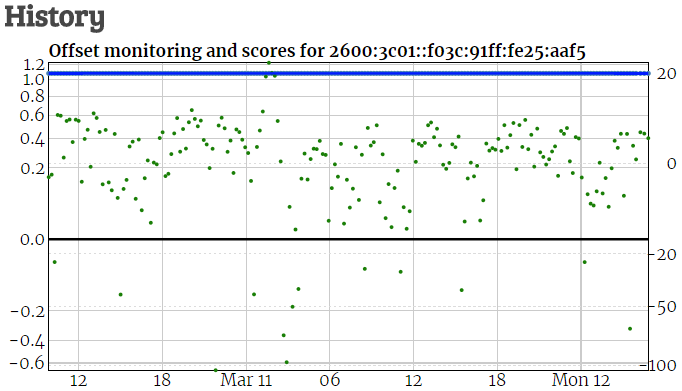
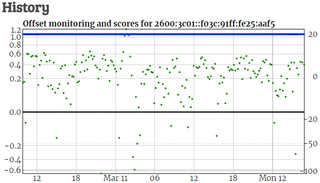
Once server works for a while, it can be added to the NTP.org pool. Since the server has both IPv4 and IPv6 address (I surely hope you added IPv6 ;)), it will be necessary to add it twice. At the start it will be only monitored but, as its score increases, soon you will start seeing traffic from all over the world.
PS: It would be wise to keep 1 Mpbs as defined speed until you see how much traffic you’re actually getting. Once the server has been handling requests at basic speed for a while you can think about increasing the number.