PICkit 4
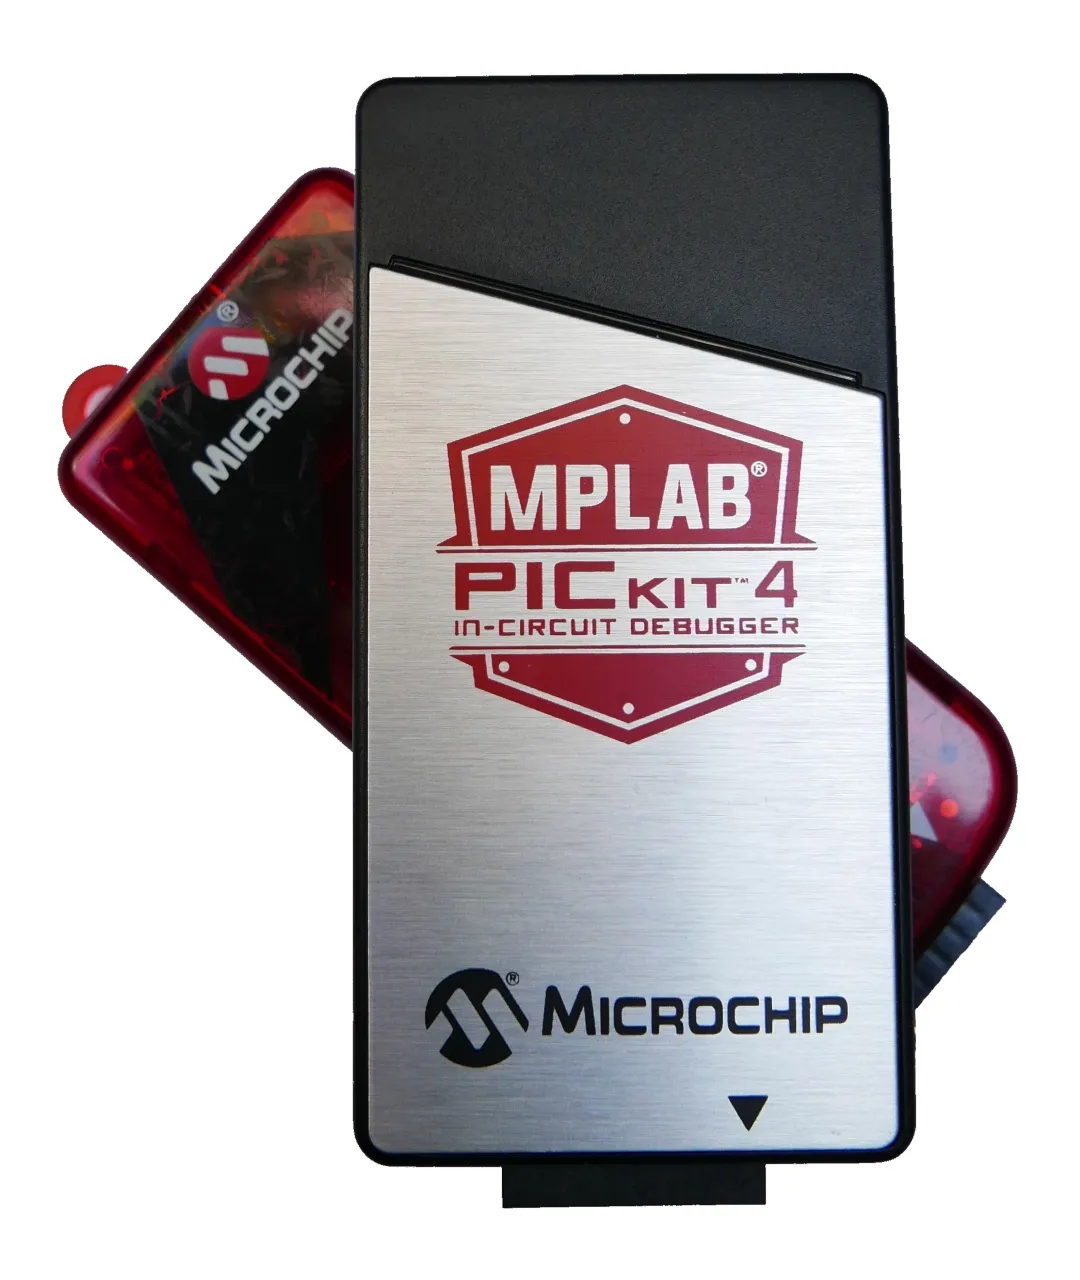
If you are already using PICkit 3, the first thing you’ll notice about PICkit 4 is increase in thickness and width alongside additional 2 pins on it ICSP connector. Finally PICkit can program (and debug) both PIC and Atmel microprocessor family. So let me compare it against it’s predecessor…
As far as I can deduce, there are two reasons for increase in thickness. First one is button/LED mechanism that actually takes quite a lot of space in front of the board. Old system of having button just stick through the plastic allowed shell to get closer to PCB while LED pipe and internal button simply need more space. That said, although I was skeptical about the button and accidental presses, it seems to work fine for now - whether it’ll age well remains to be seen.
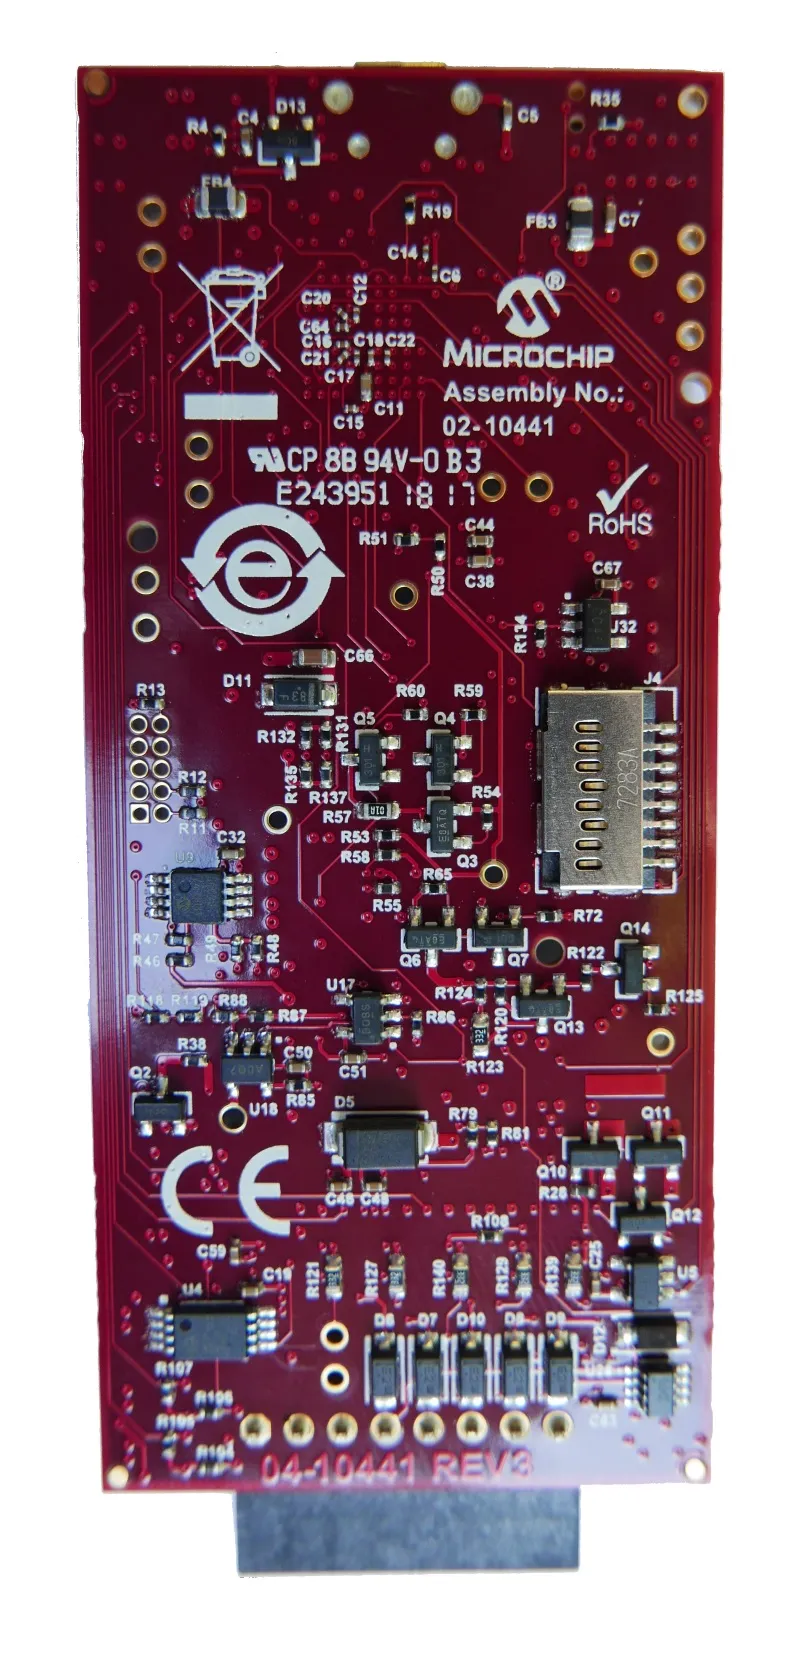
The other reason for the thickness is addition of the SD card slot intended for use with programmer-on-the-go functionality. I say “intended” as functionality is still not available, continuing Microchip’s tradition of removing functionality with the new PICkit only to return it slightly worsened later. As an optimist I will assume this will allow for storing of multiple firmware images (for both PICkit and device). User interface will be hell with only a single button and RGB LED but it would make some sense.
However, assuming functionality ends up working as on PICkit 3 with the only one firmware image, I’ll consider it to be over-engineered nonsense. A few hundred kilobytes required for a single firmware image could have been stored on internal memory chip probably even cheaper than what SD card slot costs.
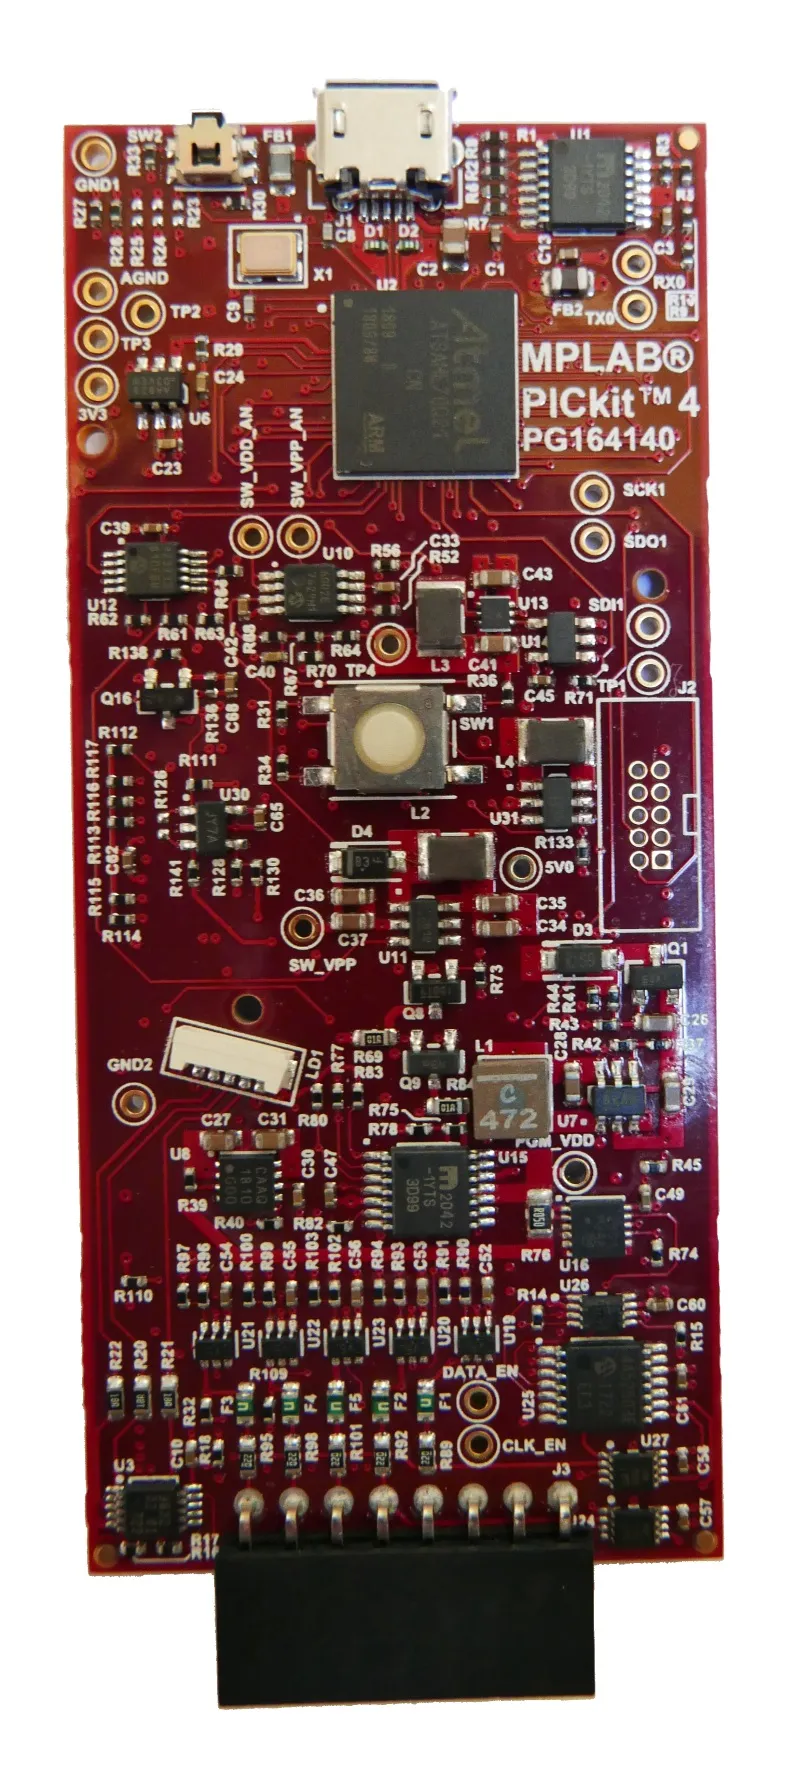
Looking inside, I was surprised to see Atmel ATSAME70Q21 as the main chip (PICkit 3 was using PIC24FJ256). I find the change neither good or bad on it’s own but such completely different platform might justify abandoning updates to PICkit 3 sooner than expected.
Despite the wider ICSP connector, I saw no obvious reason for device to get wider either. PCB is not really densely populated and I could bet engineers could have fit all in PICkit 3 case with a bit of effort. That said, I must admit that I like the look of new PICkit better. And yes, new shape is a bit less comfortable on hand, but I could live with it. New looks with the old case size, now that would be something. :)
The first 6 pins of the new connector are fully compatible with the old PIC ICSP and that means you can still directly connect it to any of your old board (assuming PICkit can still fit). If you are using pogo pins you can opt to get a wider (8-pin) pogo connector or just continue using the existing 6-pin one if you don’t need Atmel.
Microchip opted to use micro-B USB connector and I hate them for it. While I would understand PICkit 3 coming with the same, in 2018 Microchip should have used USB type C. It’s about the same size as micro-B but it allows for orientation agnostic plugins. With PICkit 3 it was less of a trouble as mini-B is bit and visible connector but with the new PICkit there is always a need for the three-way handshake.
I love the reset button next to USB connector but not for it’s reset functionality. Who’s gonna search for a paperclip to reset the device when unplugging/plugging into USB will do the same? I love it because you can see the main LED through its hole. If you are programming board with your PICkit in vertical position, you will get used to looking at LED from above instead of craning your neck on the side. This is probably the best addition there is.
Experience from MPLAB is pretty much the same as it ever was. You still need to download image into programmer for every damn PIC you use. When you switch between projects there is always a wait and need for Internet connection as it was with PICkit 3. Programming experience itself is similar to PICkit 3 and slightly faster.
All in all, if PICkit 4 was a straight upgrade from PICkit 3, I would hate its bulkiness much more as it does feel more unwieldy than PICkit 3. However, considering PICkit 4 is a single programmer allowing for both Atmel and PIC microcontrollers to be programmed I do think of it as a step forward.