Cananka for Framework Laptop
I find the Framework laptop an interesting concept and the only thing preventing me from buying one was the fact there’s no 15" model. As I use a laptop screen as my primary visual interface most of the time, I simply find 13" a tad bit too small. However, I couldn’t help but notice their developer program for expansion cards. And that peeked my interest. Can I fit a CAN bus interface there?
All resources for expansion cards are part of a reasonably structured GitHub repository. In there you’ll find KiCAD templates for creating your own PCB and a bunch of a mechanical drawings in addition to an enclosure suitable for 3D printing. Those using other PCB software are kinda out of luck as board description is not sufficient to replicate all the curves board has. Fortunately, due to KiCAD using a (relatively speaking) simple human-readable file format, I managed to create a DipTrace PCB template.
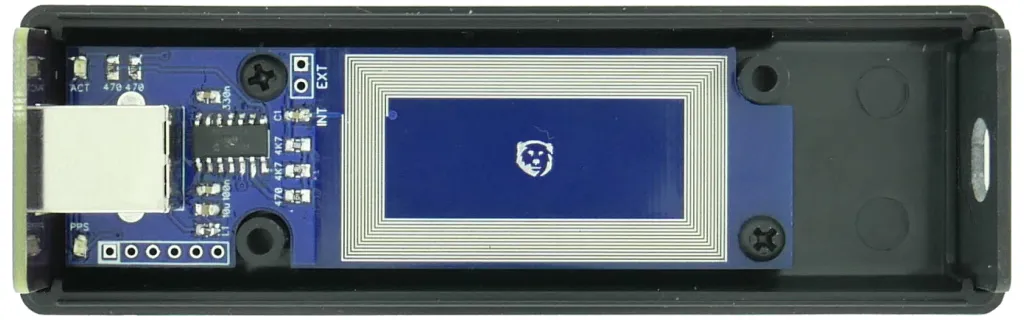
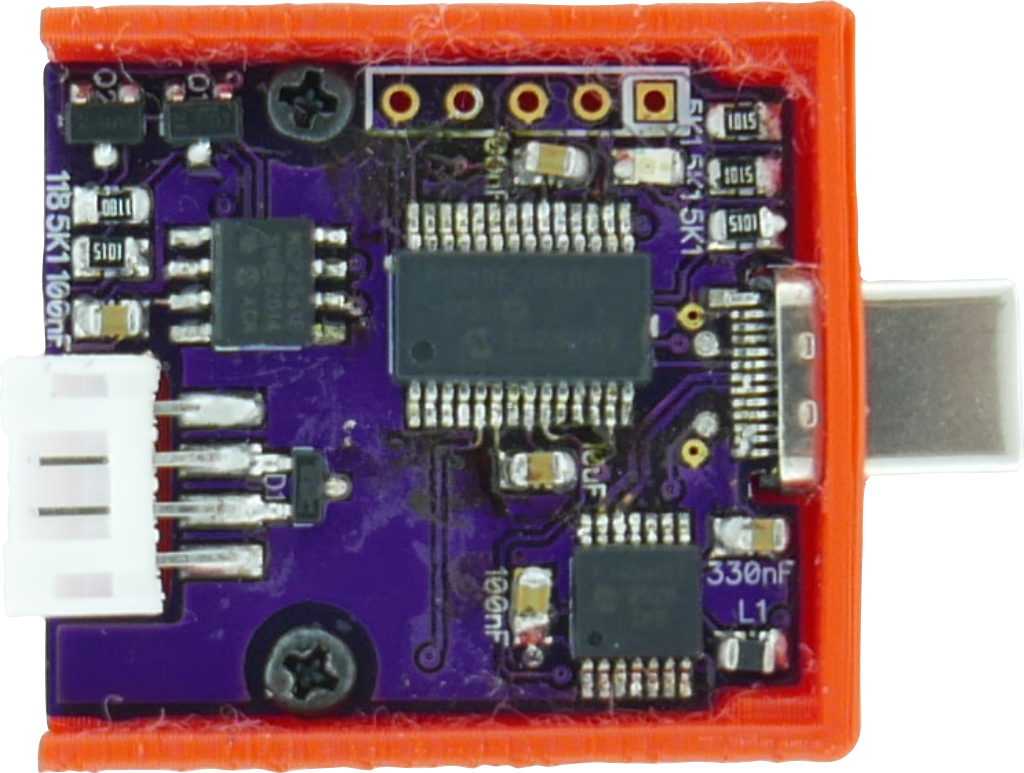
Since I already have a CAN bus USB controller, I figured to just make everything a bit smaller while retaining as much features I could. It was immediately clean that I couldn’t support a fully insulated interface as there was no chance to fit all components. Cananka mini was as good as it gets. While most of LEDs had to go due to the lack of space, the programmatically-controlled bus termination thankfully remained.
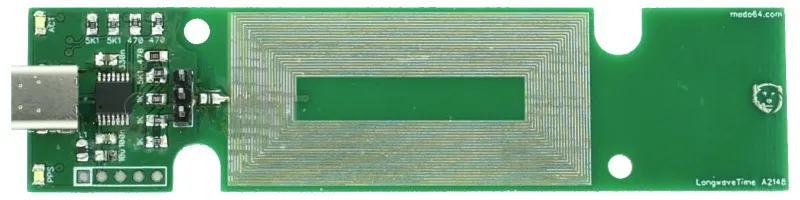
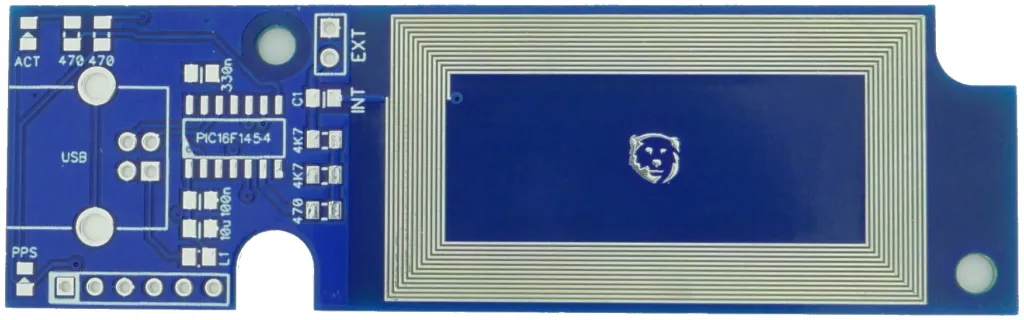
After much jiggling of components in order to fit them, all was done. A type-C connector was a pain in the butt to hand solder and 0.5 mm microcontroller and UART controller were close to follow. Even better, all passives retained their 0805 size. I did have to go with a full size PCB in order to fit everything onto a single PCB side but I figured 3D printed case would be ok.
Selecting a user-facing connector was a pure trouble and I went over multiple ideas to no avail. My favorite failure was using an edge connector with a Phoenix ZEC connector attached to it but I found it sticking from the side of laptop was a bit too much. At the end I went with a surprisingly well-fitting bodge. A vertical JST PH connector required just a minimal pin bending to fit highly restricted module height perfectly. Not only that but the connector is common enough that finding a premade cable (or making your own) will present no trouble.
Manufacturing board was actually a breeze as I modified PCB slightly as not to cause warnings with the Molex 105444-0001 connector. Any manufacturer capable of producing double-sided 0.8mm PCB at 6/6 should be just fine. And yes, you really need thinner than regular PCB in order to mount a type-C connector.
With PCB in hand and after a LONG time waiting for components (darn car manufacturers got all the good CAN bus stuff), I was ready to test the device. And here is the genius of Framework’s extension card design - it’s still just a type-C so I managed to test everything before ever needing a Framework device. Really easy R&D.
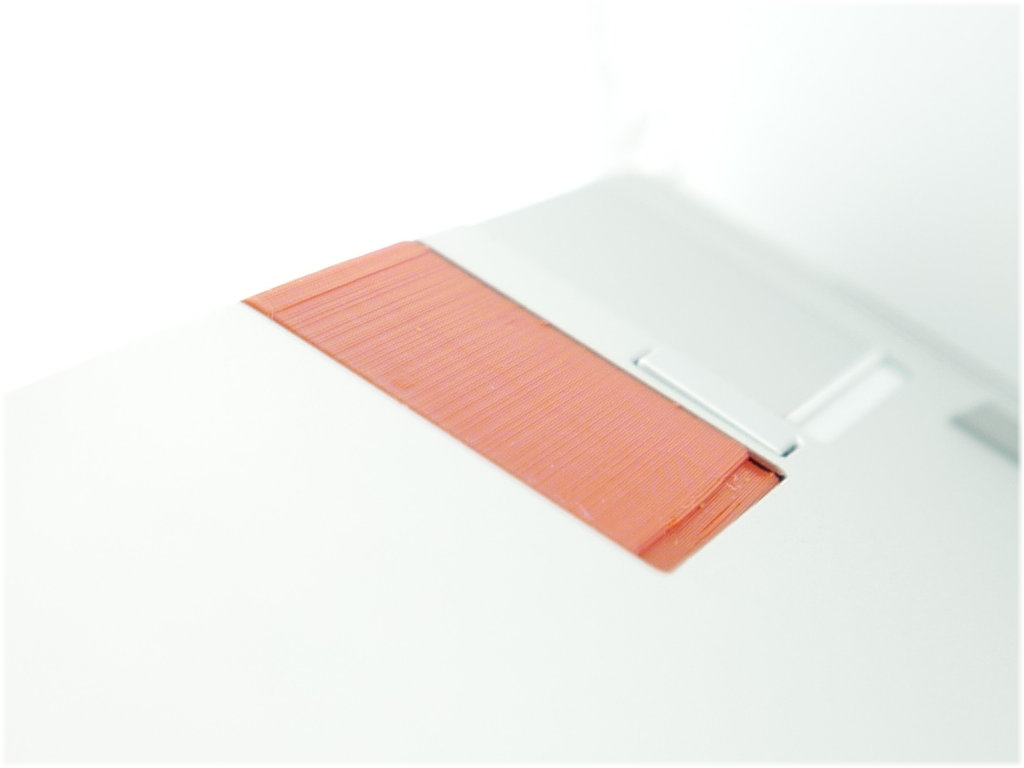
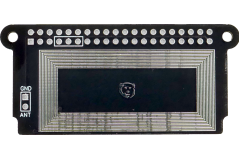
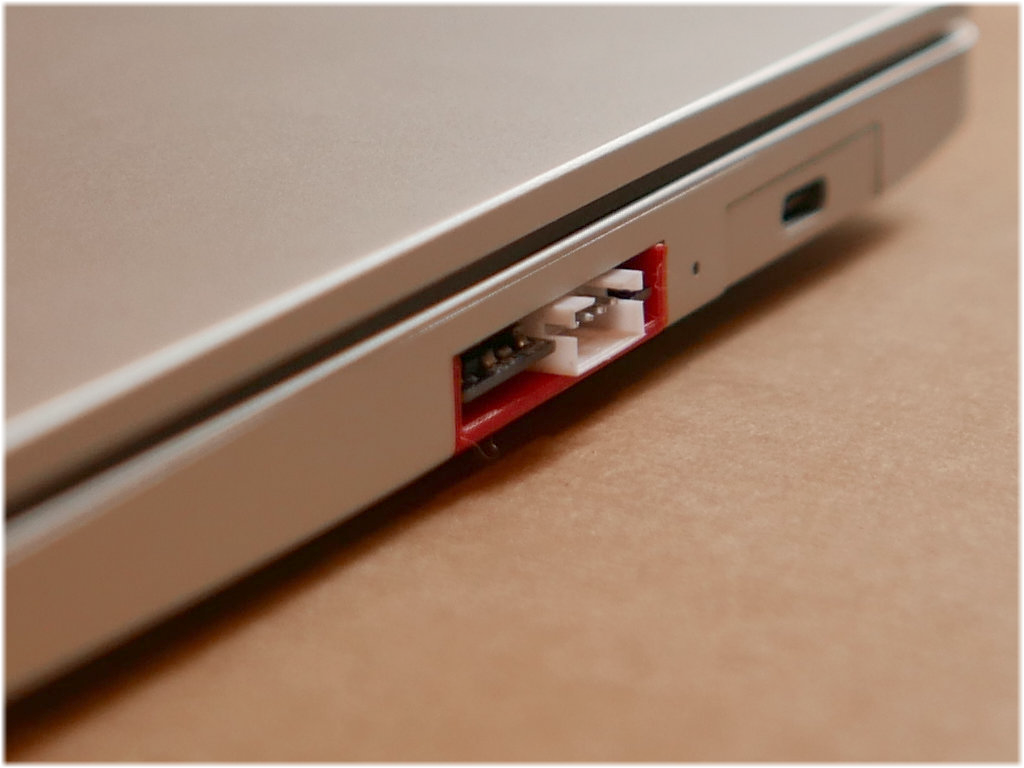
However, with all electrical stuff out of way, it came time to see if my expansion card can actually fit. I contacted Framework for a loaner laptop to test it, got it in a few days, tried to push card in, and… the darn thing fitted like a glove. :)
While I would consider the whole adventure a success, I am not completely happy. First of all, a full size PCB was a mistake. I expected it to terminate 1 or 2 millimeters before module’s edge but in reality it’s flush with the frame. That means my connector is actually sticking out a bit. Probably not enough to matter for normal handling but any harder blow to the side (e.g. due to throwing a laptop into the bag) runs risk of just shearing the connector off. Also, while 3D printed case is fine for prototyping, having a better looking finish would go a long way.
What’s next then? Well, the first step will be shortening PCB by a few millimeters as not to have connector sticking out from side. This change will be easily done as there is still enough space on a PCB. But that’s not where I’ll stop.
My thoughts go toward making the board even smaller as to fit into the existing Framework USB type-A enclosure. While this will mean I will have to go toward double-sided PCB load, it will look MUCH neater even though there will be some extra space. My thinking is to 3D print a transparent plug that would allow a status LED to shine through. That would avoid the “gaping hole” look while actually serving a purpose.
Timeline for this is a painful topic. While I managed to obtain some PIC18F25K80 chips, I am completely out of MCP2221A. And the soonest anybody seems to be able to get them is end of the year. And let’s not even talk about MCP2561 CAN bus controller. In short, I don’t expect anything new before the next year no matter how quickly I turn the PCBs around.
However, for now, I have the single Framework with a “native” CAN bus interface out there. :)
PS: While I did ask Framework for a loaner, I was told to just keep it once I queried how to send it back. I don’t believe my experience with developing and designing expansion card was affected by this as 95% of this work was completed way before a free Framework landed in my lap. I was never asked by a Framework team to write anything nor they conditioned sending me laptop to a positive coverage.
PPS: Yes, despite now having a 13" Framework in my possession, I still hope to purchase a 15" variant if it becomes available.