Encrypted ZFS for My Backup Machine
I already wrote about my ZFS setup. However, for my new machine I made a few changes. However, setup is still NAS4Free based.
The very first thing I forgot last time is randomizing the disks upfront. While not increasing security of new data, it does remove any old unencrypted bits you might have laying around. Even if disk is fresh, you don’t want zeros showing where your data is. Dangerous utility called dd comes handy here (once for each disk):
dd if=/dev/urandom of=/dev/ada0 bs=1M
dd if=/dev/urandom of=/dev/ada1 bs=1M
This takes a while but fortunately it is possible to see current progress with Ctrl+T. Do use tmux to keep session alive as this will take long time (with a big disk, more than a day is not unexpected).
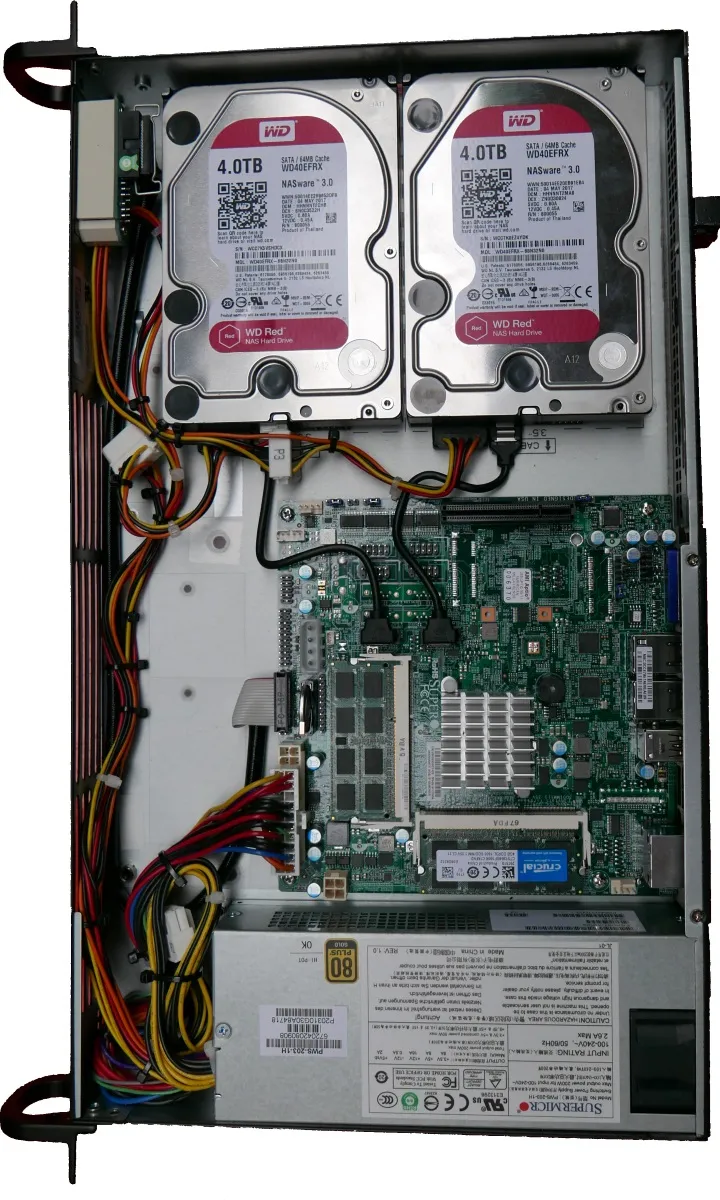
Next, instead of using glabel, I decided to use the whole disk. That makes it easier to move disk later to other platform. No, I am not jumping BSD ship but I think having setup that can change environments is really handy for emergency recovery.
While ZFS can handle using device names like ada0 and ada1 and all shenanigans that come with their dynamic order, I decided to rely on serial number of drive. Normally device labels containing serial number are found under /dev/diskid/ directory. However, NAS4Free doesn’t have them on by default.
To turn them on, we go to System, Advanced, and loader.conf tab. There we add kern.geom.label.disk_ident.enable=1 and reboot. After this, we can use /dev/diskid/* for drive identification.
Those drives I then encrypt and attach each drive:
geli init -e AES-XTS -l 128 -s 4096 /dev/diskid/^^DISK-WD-WCC7KXXXXXXX^^
geli init -e AES-XTS -l 128 -s 4096 /dev/diskid/^^DISK-WD-WCC7KYYYYYYY^^

geli attach /dev/diskid/^^DISK-WD-WCC7KXXXXXXX^^
geli attach /dev/diskid/^^DISK-WD-WCC7KYYYYYYY^^
Finally, I can create the pool. Notice that I put quota around 80% of the total pool capacity. Not only this helps performance but it also prevents me from accidentally filling the whole pool. Dealing with CoW file system when it is completely full is something you want to avoid. And also, do not forget .eli suffix.
zpool create -o autoexpand=on -m none -O compression=on -O atime=off -O utf8only=on -O normalization=formD -O casesensitivity=sensitive -O quota=3T Data mirror /dev/diskid/^^DISK-WD-WCC7KXXXXXXX^^.eli /dev/diskid/^^DISK-WD-WCC7KYYYYYYY^^.eli

zdb | grep ashift
            ashift: 12
Once pool was created, I snapshotted each dataset on old machine and sent it over network. Of course, this assumes your pool is named Data, you are working from “old” machine, and new machine is at 192.168.1.2:
zfs snapshot -r ^^Data^^@Migration
zfs send -Rv ^^Data^^@Migration | ssh ^^192.168.1.2^^ zfs receive -Fs ^^Data^^
This step took a while (more than a day) as all datasets had to be recursively sent. Network did die a few times but resumable send saved my ass.
First I would get token named receive_resume_token from the destination:
zfs get receive_resume_tokenAnd resume sending with:
zfs send -v -t ^^<token>^^ | ssh ^^192.168.1.2^^ zfs receive -Fs ^^Data/dataset^^Unfortunately resume token does not work with recursion so each dataset will have to be separately specified from that moment onward.
Once bulk of migration was done, I shut every single service on old server. After that I took another (much smaller) snapshot and sent it over network:
zfs snapshot -r ^^Data^^@MigrationFinal
zfs send -Ri ^^Data^^@Migration ^^Data^^@MigrationFinal | ssh ^^192.168.1.2^^ zfs receive -F ^^Data^^
And that is it - shutdown the old machine and bring services up on the new one.
PS: If newly created machine goes down, it is enough to re-attach GELI disks followed by restart of ZFS daemon:
geli attach /dev/diskid/^^DISK-WD-WCC7KXXXXXXX^^
geli attach /dev/diskid/^^DISK-WD-WCC7KYYYYYYY^^
/etc/rc.d/zfs onestart
[2018-07-22: NAS4Free has been renamed to XigmaNAS as of July 2018]