Visual Studio 2019
Visual Studio 2019 is among us and, thanks to multiple release previews, it seems as it was always here. From C# developer point of view, it’s not a revolution but a nice, steady improvement.
The first change you will notice is the new Start window. While it can get crowded if you deal with a lot of projects and it could definitely use a search function, it’s much better than what Visual Studio 2017 had to offer.
The next visual change is that menu got merged with title bar. While this has no functional impact on menu management, it does provide your editor with much needed vertical space. You can see that this was coded by young developers as you cannot blindly double-click at 0,0 to close solution anymore.
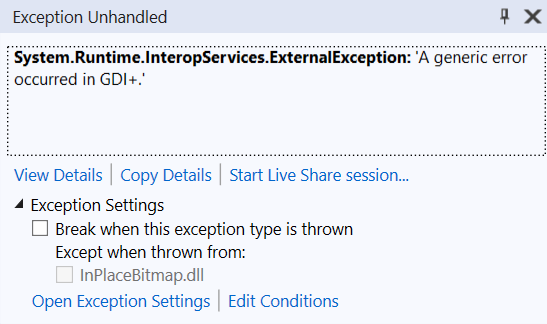
The most important new feature for me as a C# developer is break point on data. While I didn’t need it often, I definitely felt C++ envy when I did. Now C# developers can simply set a single breakpoint on data itself instead peppering bunch of them all over the code hoping to catch the rogue update.
Visual Studio Live Share is feature I could see used massively in teaching environment. A long time ago I taught coding and the most difficult part was going over examples on projected screen. It was annoying having to setup Visual Studio specially for projector (e.g. text size) instead of my standard environment. Now presenter gets to work in his own environment and each other connected party (read-only or editable) gets to use their settings too. Pure comfort. :)
There is quite a few other improvements, be it in performance or new flows and you can check release notes for more information.
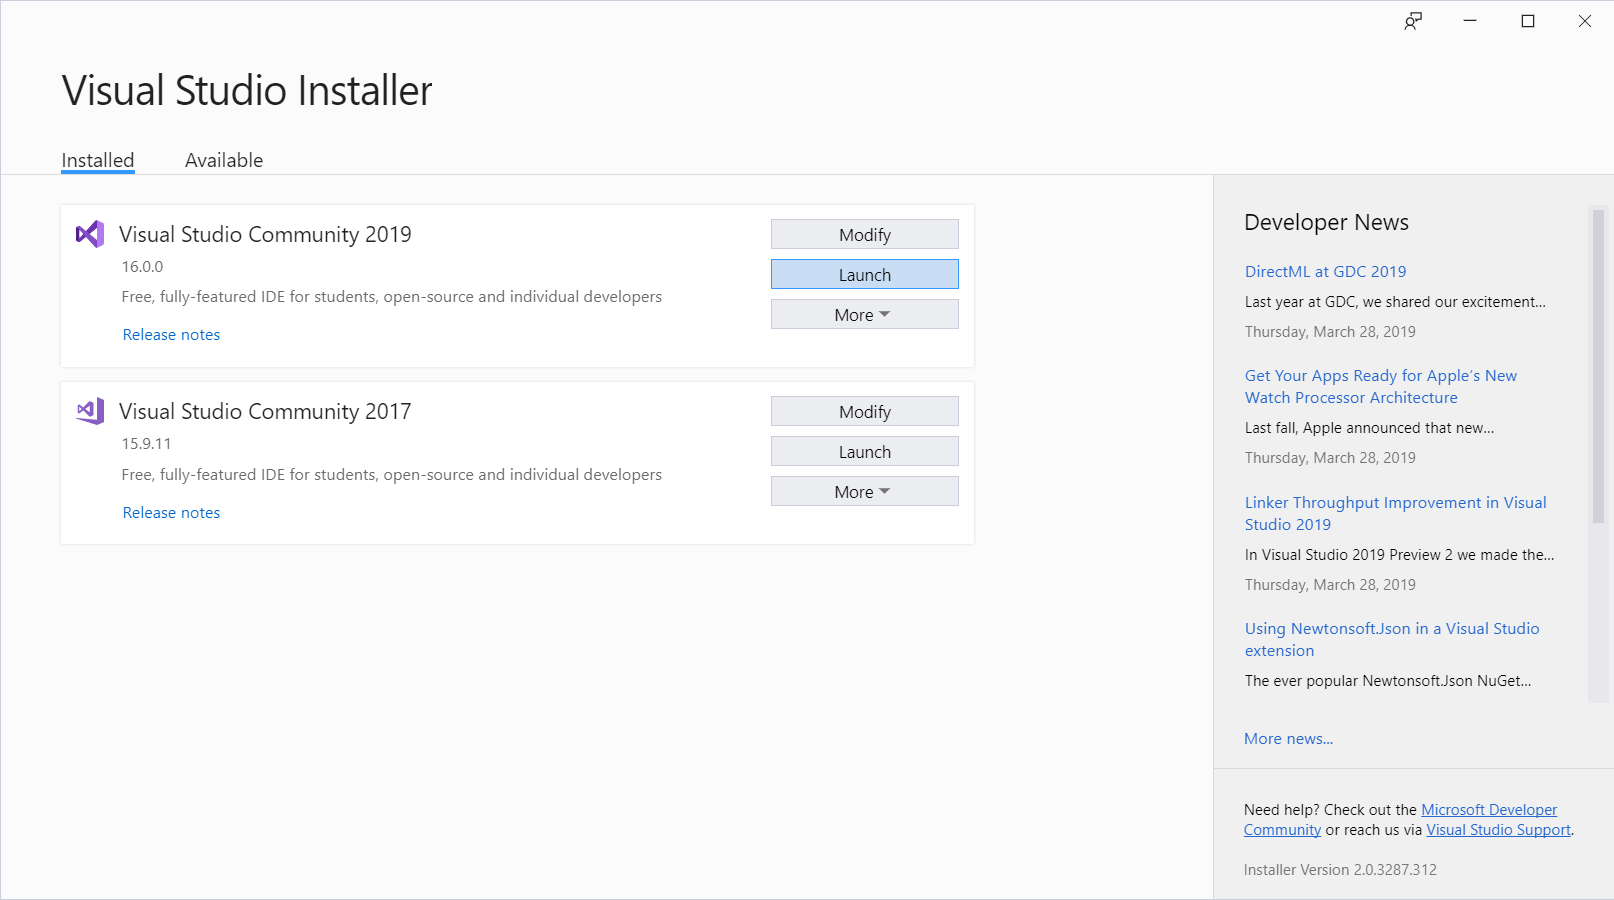
Or, since Download is available, install and enjoy!