Bing
There is new Microsoft’s search engine called Bing. Name itself reminds me of Alan Ford’s quote: “Hello, Bing, how’s the brother?”. While meaning of that greeting is not so nice (trafficking stolen goods), it means that I will remember it without problems.
Search interface is clean (with nice picture background) and search speed is good. However, after spending one day with it, I cannot say that I am too excited. When I look at all those things it can do, I feel cheated. All that seems really useful, but in reality almost everything is limited to North America. All I got from it is just generic search engine results.
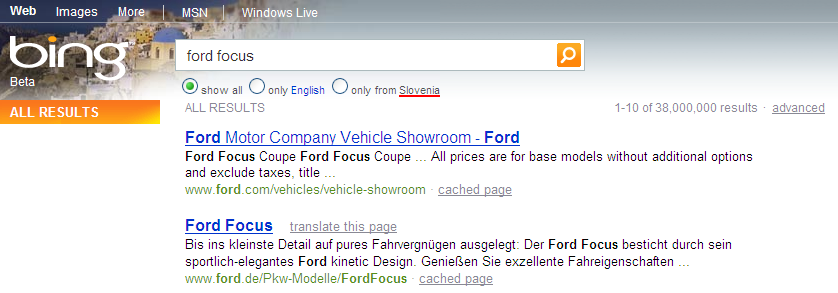
P.S. It even fails at recognizing that I come from Croatia. Getting results of Slovenian pages does not help me much.