Type-C Power Delivery as Passive PoE Source - Firmware
This is part 3 out of 3 in the series.
The firmware for the old ResetBox had a simple setup. You press the button shortly, it gets ignored; you press it for a second or two, and you reboot the devices. However, the introduction of the PD negotiation required a way to configure the voltage.
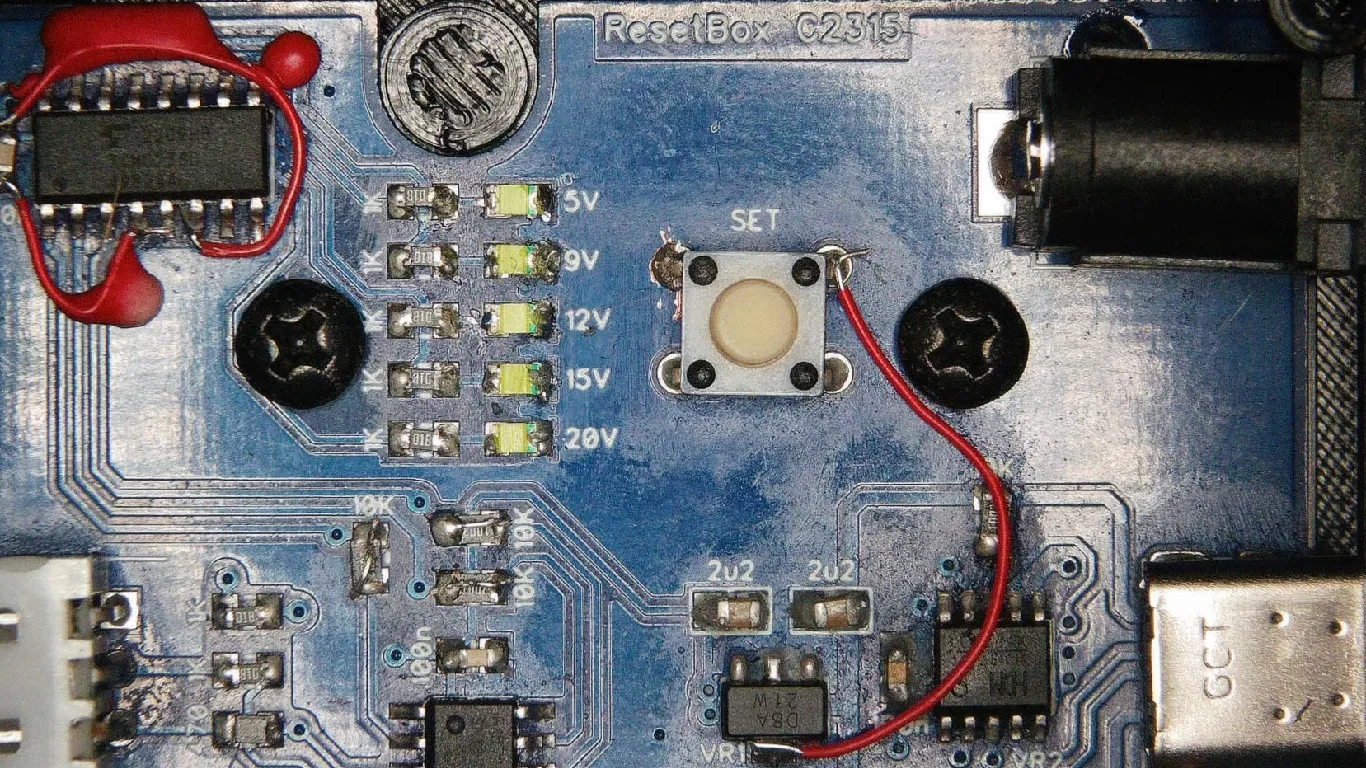
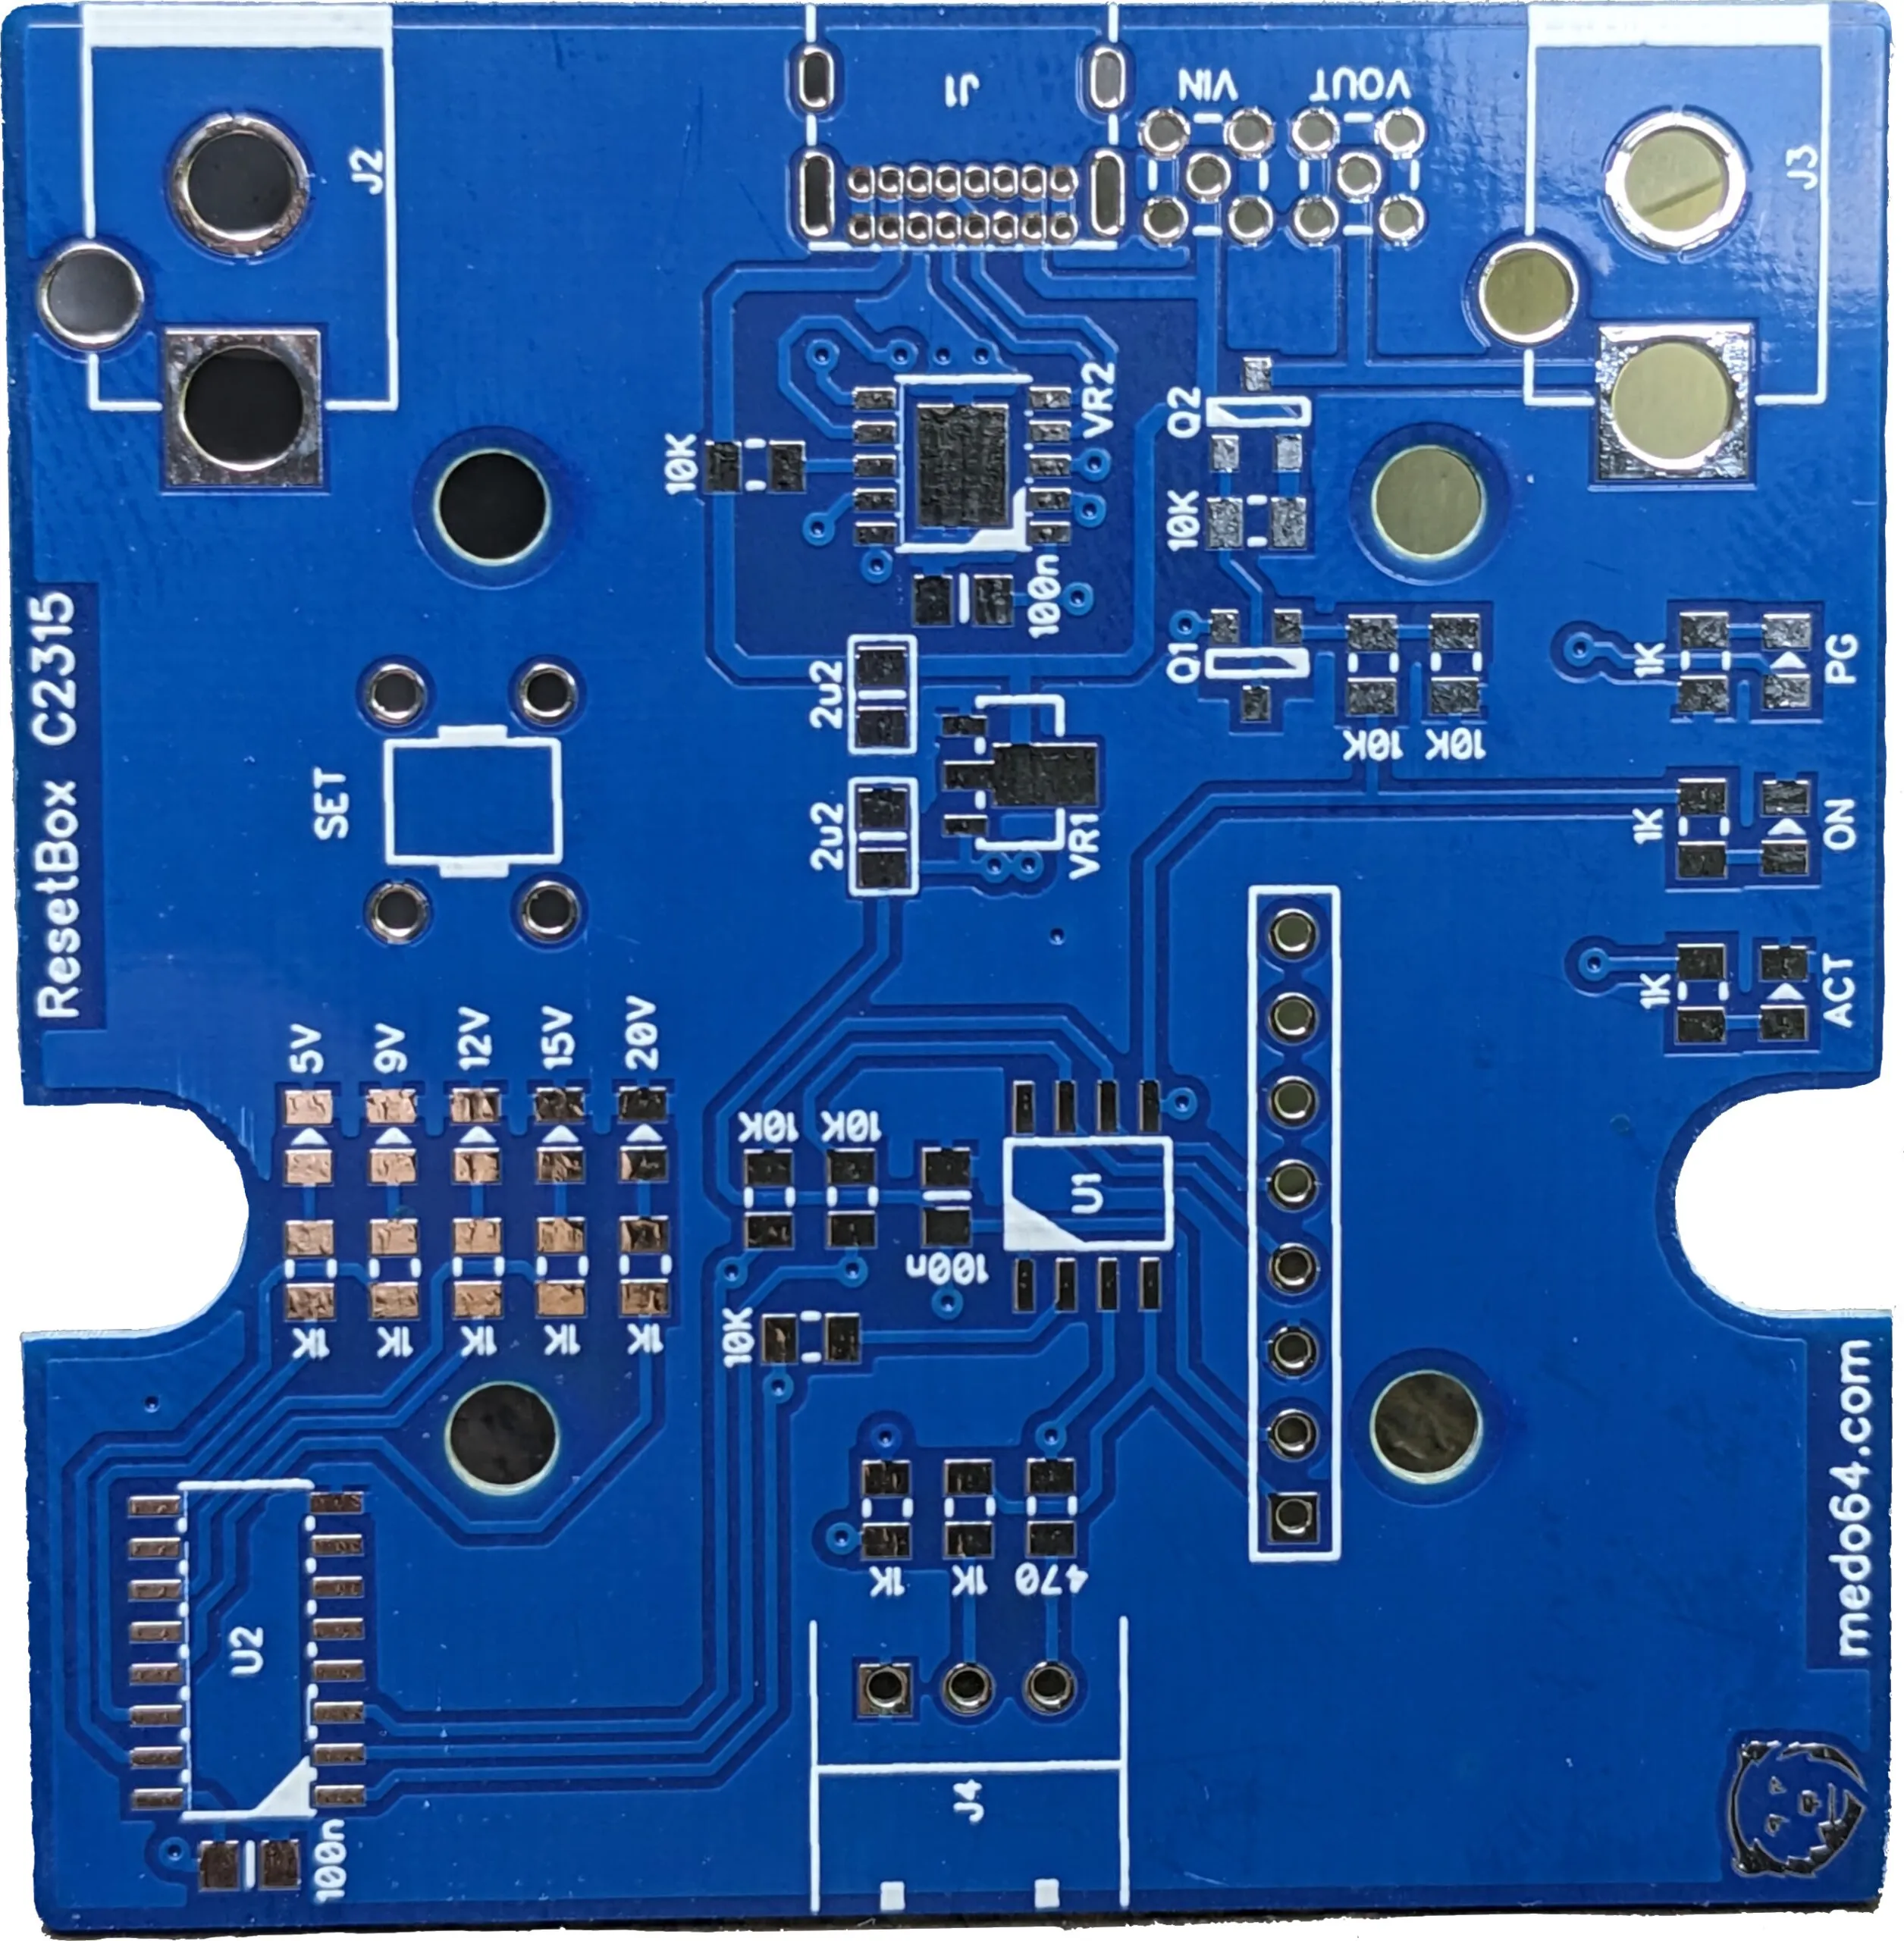
The easy way would be simply to use the existing external button for configuration. And that would work just fine. However, this would also mean that one could accidentally (or more likely by messing with the front panel) change the voltage. I didn’t want that. Thus the second, internal, button was born.
With it, the second question popped - why not use the internal button to set the voltage and the external button to change the setting. Since two buttons are there, both can be used. Except there aren’t two buttons available at all times. If we go with my rack-mounting case, the button is mounted in the rack using a rather short cable. If we get the device on the table, we don’t want to unmount the button. So, it has to be a single button setup.
Thus, the first thing that firmware checks during boot time is the state of the button. If the button is pressed, the boot process waits for either 3 seconds to elapse or for the button to be released. If the button is released within that time, just proceed with the normal boot. If the button is still pressed, go into configuration.
While I use TIMER0 for time management, I avoid using interrupts for just measuring the duration of time presses. The reason behind this is that I like to have interrupts available for the stuff that matters (e.g., change on the external pin). It doesn’t matter if the press is 3 or 3.01 seconds long, and thus, just checking the timer state is good enough.
Essentially, all time loops are as follows:
while {
    if (timer0_wasTriggered()) {
        counter++;
        if (counter == COUNTER_MAX) {  // held it long enough
            // do something for holding
        }
    }
}
As I set up timer pre/post-scalers in such a manner that I have exactly 24 “triggers” per second, an 8-bit counter variable allows for 10 seconds to pass. If a longer duration is needed, you can use 16-bit integers, but I usually find 10 seconds to be plenty.
Another change I made to the firmware was the ability to cancel the reset. In the old version, once you press the button for 3 seconds, it will reset the device when you release the button. Well, it happened at least once that I pressed the button for 3 seconds and then discovered that I pressed the wrong one. However, there was no way to go back.
In the new firmware, I lowered the duration needed to enter into the reboot mode to 2 seconds, but I also allowed for cancel if one holds it for an additional 10 seconds. As before, one can know if the release will reset the device by the LED brightness. If the LED gets dim, the reset is imminent.
For a simple device like this one, this is more than enough flexibility.
Source code is available on GitHub. And you can also check previous posts about design and its fixes.