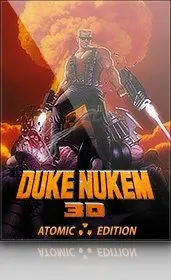
More than 10 years ago, I “obtained” Duke Nukem 3D. Graphics were better than Doom, everything was in 3D (ok, it was 2.5D) and dirty humor was all around. Since it’s graphic engine cheated a little, game was very playable even on slow systems (a.k.a. those that couldn’t run Quake).
First time I played it in multiplayer was over serial cable. And I fell in love. Game that was good, just became great. When we got network in our classroom (I was at school at that time), first game we played was Duke Nukem 3D. You could have as much as eight players at once on levels that had so much entries and exits that stalking just wasn’t a strategy. You needed to move, and to move a lot.
Some things that were semi-useful during single player game, became great tactical elements in multiplayer. Jetpack gave you possibility to make RPG air-strikes to your enemy, steroids helped you to escape (you were faster than RPG). Hologram was useful for distracting your enemy. While they shoot at hologram, you just shoot at them from your hiding place. You were only limited by your imagination.
Weapons started with your own foot (great if you are on steroids) followed with standard arsenal (pistols and guns). What was unknown before that time was pipe bomb. It worked on a trigger and while it wasn’t that useful against experienced players, it gave great joy of shaming your enemy with it. Real shame came with shrink ray. Once you shrink your enemy, you step on it - “That’s gotta hurt”.
Greatest weapon of them all was mighty RPG. Once you got used to it, you were killing machine. It was slow, it had only small amounts of ammo, but it’s power was undeniable. Tactic that I used with it was not to aim at person at all. Just point it somewhere near person and fire few shots more. Blast from a wall will kill that person without problems. If you are little bit further, it had semi-self-guidance so if your enemy stood still, he was a history. Combining that with steroids was sometimes suicidal since you could end up shooting your self with your own RPG (on steroids you run faster than RPG flies), but master that and there is no force that can stop you. Except another guy with RPG.
From that time, I even had a song dedicated to fifth level (one with a lot of RPGs). It is sung to the tune of Somewhere over the rainbow:
Somewhere over the rainbow,
RPGs fly...
Somewhere someone will kill me
and kill someone will I...
Song may be lousy, but at no time before or after, I sang during game. It was that good.
Today
First step for playing game would be to obtain it. You can try it with shareware version and when you see the light buy it at GOG.com.
In order to enjoy it more, you may want to check EDuke32. This program will not only give you greater resolution than original Duke, but it also allows using higher quality graphics with some graphical goodies (interpolation, glow-maps, hi-res character models…). It works on all Windows versions without any problems.
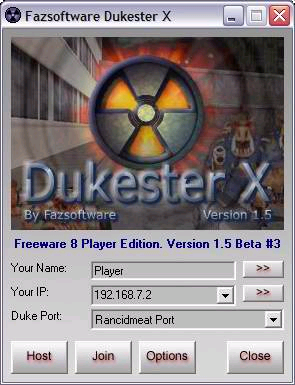
Duke Nukem 3D multiplayer relied on IPX/SPX protocol for communication. That protocol is pretty much dead and TCP/IP took it’s place. Dukester X gives new life to multiplayer by providing TCP/IP connectivity. Your IP network can be useful once more. ;)
Full guide for setting your multiplayer DukeNukem 3D machine can be found at Duke3.net.