For almost five years now I had a Kindle 2 as my companion. Other Kindles came and went and I saw no reason to replace something still working. But there was one thing bugging me for a while now - reading by night. I was pretty much looking to upgrade to Paperwhite when Amazon announced Voyage. So I jumped onto that train.
I decided upon Voyage 3G since I still fondly remember my Kindle 2 keeping me in touch with a world in a foreign expensive land before the age of WiFi. First shock happened when I tried to browse. Amazon actually doesn’t allow browsing on 3G anymore. You can visit Amazon, you can visit Wikipedia, but nothing else is reachable without WiFi. Compared to unrestricted Kindle 2 this seemed as a step backward.
I was also stunned by the fact I could not access my own web site. Since I could access it at an alternate address I would tend to blame this on the lack of SSL Server Name Indication support which I find really strange since Kindle advertises it as an WebKit browser. My guess would be that they’re using quite an older version of SSL code when it manages to fail at thing even Internet Explorer 7 supports.
WiFi itself is 2.4 GHz only which is a bit of disappointment. This is quite literally the newest device I own and only one that has no 5 GHz radio. Yes, 2.4 GHz is more common choice for consumers also but I find 5 GHz a blessing in a crowded environment (e.g., in cities).
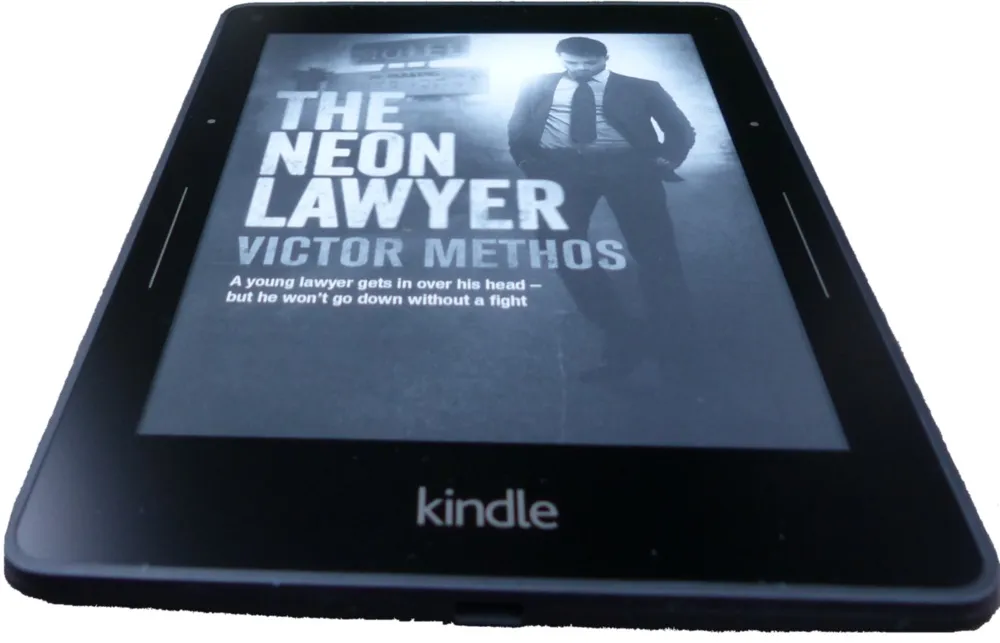
Build quality is quite good with a glass front and a magnesium back with a soft finish plastic over it. Only disappointment was a slight misalignment of plastic hiding the antennas with the rest of the body. Fortunately it is not in place where you can easily touch it and it might be only an issue with my device anyhow.
In order to turn the device on you need to reach button on the back. Without cover this operation is annoying at the best. Fortunately, as soon as you get some cover on, things get easier and comfortable. Also annoying is “Swipe to unlock Kindle” gesture at every damn turn on. It is completely unnecessary and serves absolutely no purpose other than showing off the fact you have a touchscreen. This is also solved by putting a cover on (but only if you have version without special offers). As you might deduce, this Kindle is less than enjoyable without a cover.
Since Voyage is a really young device only original Amazon cover is Origami I personally find annoying at best. I’m hoping that Amazon will start selling just a simple leather cover too as same one is available for their other devices. Of course you can always opt for a third-party cover.
On other hand I just adore PagePress buttons. Lack of physical buttons on Paperwhite was what was keeping me back on Kindle 2. Sadly, due to a touchscreen controls, lefties might not really enjoy buttons as they would otherwise. Bezel is really thin so my page turning finger naturally tends to rest at the edge of the screen. This means that each touch to left PagePress button also probably touches screen where that same gesture is interpreted as going one page back.
In the end my page turn occasionally gets interpreted either as nothing at all or as a turn backward. It doesn’t happen often but it kills my flow immediately. Software solution would be simple - just disable touch screen page turns when PagePress is enabled but I doubt that anything will be done since 90% of right-handed people will be just fine with this.
Speaking of page turns, I find it a slightly unnecessary to have a PagePress back button on both sides. Since going backward is a pretty rare operation, having second back button replaced with Home (again, as on Kindle 2) would make more sense to me.
Missing when compared to the Kindle 2 is also any form of audio. While I used read-aloud functionality rarely enough that I won’t miss it, I do miss capability of getting my audio books on it. I dream of a day when I will be able to switch between listening to unabridged audio book and reading it on screen. A beautiful thing when you prefer reading but occasionally want audio (e.g., when driving a car).
Another surprise came when I tried charging Voyage. It would only pull around 500 mA from wall chargers. Compared to 900 mA Kindle 2 could pull this is a real disappointment. I tried using the original Amazon 5W charger but current usage remained the same. Unless Amazon’s fast charger (9W) does better job, I can only deduce that somebody in engineering did a shoddy job and 500 mA is the maximum.
Regardless of all these annoyances I covered in the last few paragraphs, I really enjoy this Kindle. Screen is gorgeous, backlight really pleasant, and it does feel as an upgrade coming from Kindle 2. Even if you are coming from the latest generation Paperwhite you will find new Kindle enjoyable and a quality device. Biggest issue for it will probably be the price since $200 for the basic model and $270 for the 3G one is quite a premium.
All in all I really love this Kindle. Yes, it is not perfect but it is a great companion.
PS: Due to such a crippled 3G, I returned my original purchase and got myself a WiFi-only Voyage.