Meld Context Menu in KDE Plasma 6
As a new convert to KDE Plasma 6, I am still in process of getting the whole config sorted out. And that includes thing that was annoyingly difficult to do on Gnome - context menu support for Meld.
While there is (was) an extension available, it’s not maintained and with Ubuntu 24.04 there came an end to it actually working. I did play with a few other potential solutions, but I wasn’t really successful in seamlessly integrating any of them into Nautilus.
So, when I got KDE Plasma 6 running, I decided to see how easy is to integrate Meld in context menu for its file manager “Dolphin”. I did find a few solutions on Internet but they were either bringing overly complicated menus or they were simply non-fuctional. So I decided to roll my own.
Great help here was dolphin’s service menu specification that (surprisingly) really does it job - covers all the options and leaves you smarter than you were before reading it. I know that should be the purpose of any documentation but Linux documentation often fails at that simple aspect. For my project, I wanted an option to either compare two directories or two files. And I wanted just a normal compare and not a thousand options in submenu.
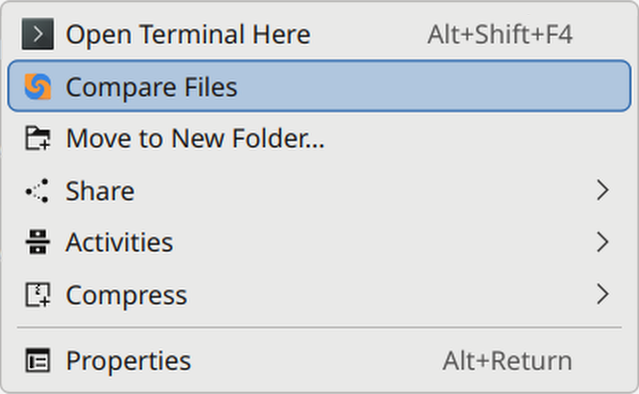
For this I ended up creating two .desktop files and limit visibility of each to when two items are selected. One .desktop file is handling compare for two files while the other handles the same for two directories.
To bring the story to the end, here are the commands to recreate those files. Just create directory, write files, and make them executable. Easy-peasy.
mkdir -p ~/.local/share/kio/servicemenuscat << 'EOF' | tee ~/.local/share/kio/servicemenus/meld.directory.service.desktop
[Desktop Entry]
Type=Service
MimeType=inode/directory
Actions=diffDirectories
X-KDE-Priority=TopLevel
X-KDE-RequiredNumberOfUrls=2
[Desktop Action diffDirectories]
Name=Compare Directories
Icon=org.gnome.Meld
Exec=meld %U
EOFcat << 'EOF' | tee ~/.local/share/kio/servicemenus/meld.file.service.desktop
[Desktop Entry]
Type=Service
MimeType=application/octet-stream
Actions=diffFiles
X-KDE-Priority=TopLevel
X-KDE-RequiredNumberOfUrls=2
[Desktop Action diffFiles]
Name=Compare Files
Icon=org.gnome.Meld
Exec=meld %U
EOFchmod +x ~/.local/share/kio/servicemenus/meld.directory.service.desktop
chmod +x ~/.local/share/kio/servicemenus/meld.file.service.desktop