Android X86
My Android phone has died on me last week. Suddenly I had an issue. Bunch of stuff I had on it was not available anywhere else. Not on Windows and especially not on crusty Nokia 6300 I used as a replacement. I had to get another Android. My choice fell onto running Android x86 in VirtualBox.
First step was creating virtual machine. Upon creation I selected Linux 2.6, increased memory to 1024, and got 8 GB disk ready. After machine was created, I disabled absolute pointing device (System) and changed network adapter type to PCnet-FAST III (Network).
I started machine with Android x86 live CD (android-x86-4.3-20130725) and went for installation. There I was met with slightly annoying partition creation (New, Primary, Bootable, Write, Quit) and disk format selection (ext3). I installed GRUB and went for writable system partition. One reboot later (don’t forget to remove DVD) and my new Android device is ready.
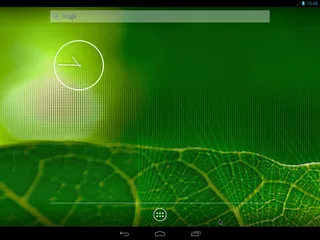
Before I could do anything I had to go to Machine menu and disable mouse pointer integration (; remember host key for exit) in order to click-through setup options. And then I noticed that my network wasn’t working and screen was a bit weird size-wise. So I rebooted and selected Debug mode upon next boot.
There I went on to edit /android/system/etc/init.sh (remember vi) and I added new line with netcfg eth0 dhcp near the end (just before return 0). For fixing up graphics, solution was in editing /mnt/grub/menu.lst (vi again) and appending vga=842 (34A) to kernel line. This gave me resolution of 1152x864x16 and that one worked perfectly for me.
Short reboot later (reboot -f) my new Android was ready.
